Craving cozy home décor that feels handmade, minimalist, and uniquely yours? These DIY clay candle holders are the perfect weekend project — no kiln needed. Whether you’re a beginner or a seasoned crafter, this air-dry clay tutorial will help you shape elegant, sculptural candle holders that bring calm and character into any room.
1. A Sculpted Sense of Calm
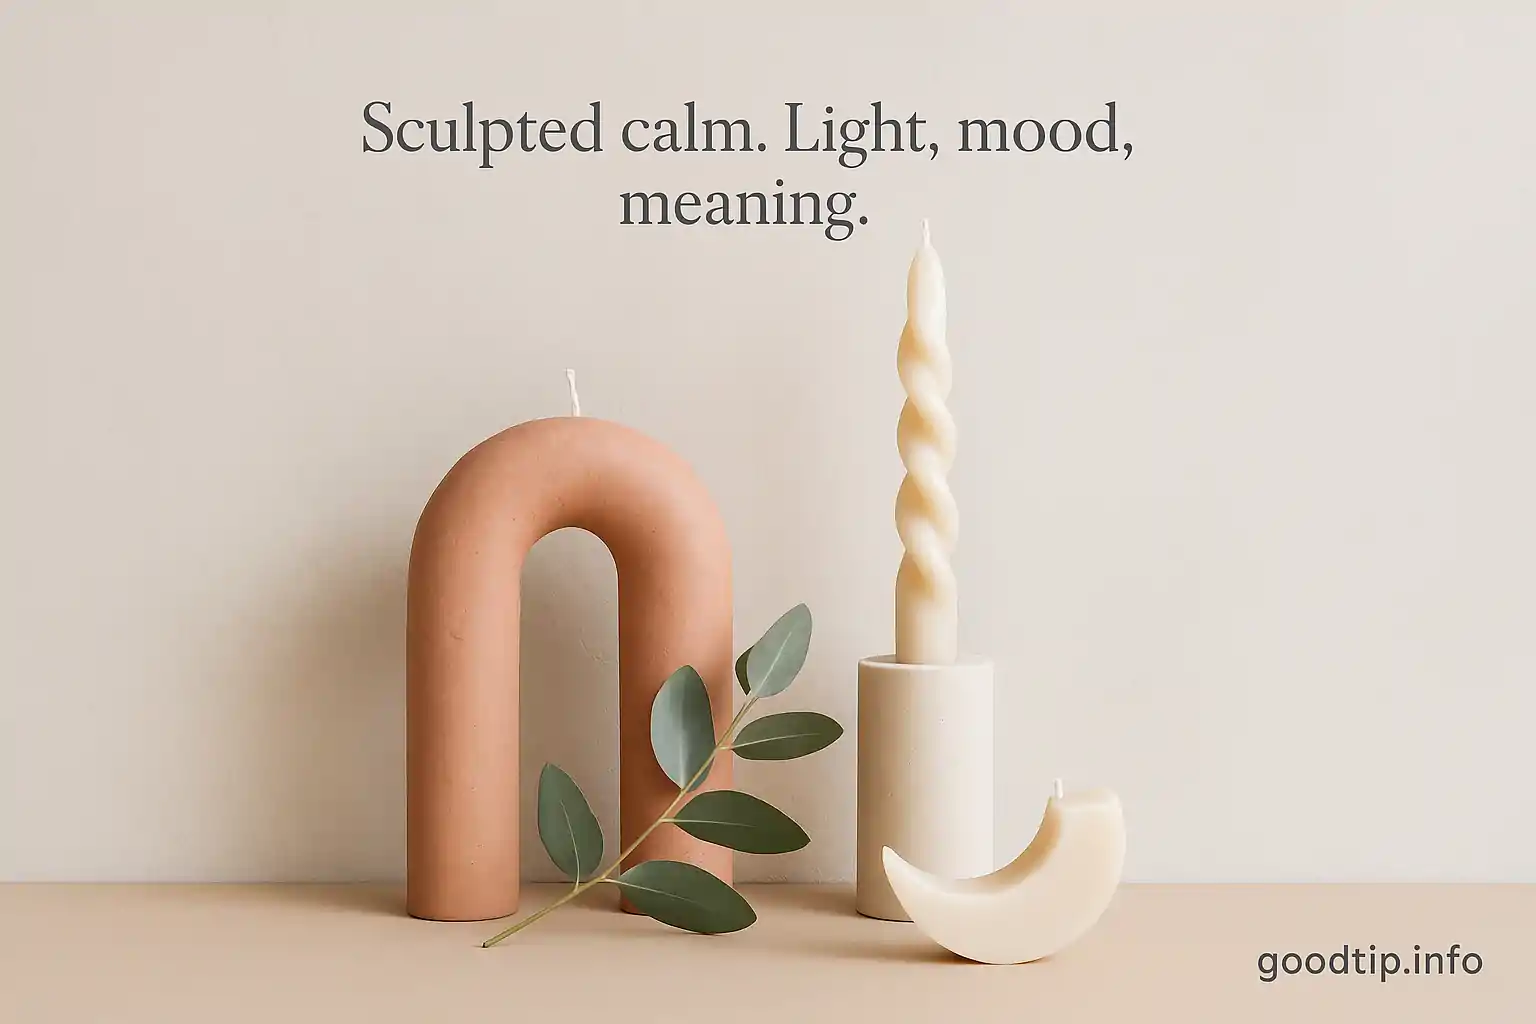
In a world that moves fast, your home can be your sanctuary. And nothing says “slow living” like an object molded slowly, thoughtfully, by hand. Handmade clay candle holders not only add a personal touch to your décor — they ground your space in warmth and intention. Each piece is a small meditation in shape, texture, and presence.
No need for fancy equipment or expert skills — just clay, a few tools, and a willingness to explore.
Discover more: DIY Cozy Candle Nook
2. Why Clay Candle Holders Are the Perfect DIY
Clay candle holders are more than just pretty accents — they’re:
- Organic & tactile: The natural feel of clay fits effortlessly into minimalist and earthy interiors.
- Customizable: You can shape them into anything from smooth circles to sculptural waves.
- Satisfying to make: The process is relaxing, meditative, and grounding.
- Beginner-friendly: With air-dry or polymer clay, no kiln or complex tools are needed.
Whether you prefer modern minimalism or cozy boho vibes, this DIY offers room for creativity and personal expression.
3. Materials You’ll Need
Here’s what you need to get started:
- Air-dry clay (or polymer clay if you want to bake it for extra durability)
- Rolling pin or glass bottle
- Craft knife or butter knife
- Sculpting tools (or use toothpicks, spoons, anything you have!)
- Small round candle (tea lights or taper candles)
- Sandpaper (optional, for smoothing)
- Acrylic sealer or varnish (optional for water resistance)
That’s it — simple materials, big results.
4. Step-by-Step Tutorial: Sculpt Your Calm
Step 1: Prepare the clay
Knead your clay until soft and warm. This helps eliminate air bubbles and makes shaping easier.
Step 2: Shape the base
Roll the clay to about 1cm (⅜”) thick. Use a round object to trace a base shape — this could be a circle, oval, or organic freeform.
Step 3: Build up the candle holder
Roll small coils of clay to wrap around the base and create walls. Press them gently into place. For a minimalist look, keep it low and smooth. For a sculptural feel, shape wavy or folded edges.
Step 4: Insert candle space
Press the candle base gently into the center to create the indentation. Remove it and let the clay keep that form.
Step 5: Let it dry
If using air-dry clay, let it sit for 24–48 hours. Avoid touching during this time to prevent warping.
Step 6: Finish it up
Once dry, lightly sand any rough edges. You can leave it raw for a natural look or apply a sealer for protection.
5. Design Ideas: Let Each Curve Tell a Story
This is where your personality shines through. Here are some inspiring design paths:
- Wabi-sabi waves: Uneven, flowing forms that embrace imperfection.
- Scandinavian minimalism: Smooth curves in muted tones.
- Boho folds: Petal-like edges, textured impressions, or twisted ribbons.
- Earthy textures: Use linen or leaves to press patterns into the clay.
Every dent, fold, and curve becomes a quiet story within your home. Trust your hands.
6. Tips for a Successful Project
- Avoid cracks: Don’t make the clay too thin, and let it dry slowly in a cool spot.
- Shape while moist: Adjust curves and edges before it starts hardening.
- Use baking paper: It prevents sticking during drying or baking.
- Use a sealer: Especially for polymer clay or if the piece may be exposed to moisture.
Mistakes? No problem. Clay is forgiving — just reshape or start again. That’s part of the magic.
7. Where to Display Them: Add a Handcrafted Glow
Your new candle holders will look stunning:
- On coffee tables, paired with books and ceramic bowls
- On bathroom shelves, for spa-like calm
- In the bedroom, creating a soft evening glow
- On dinner tables, as intimate centerpiece accents
- Next to plants and wood, enhancing the natural vibe
Bonus idea: Make a set with slight variations. Grouped together, they create a harmonious, collected look.
8. Sustainable & Soulful: Why Handmade Matters
In a world of fast furniture and factory-made décor, there’s something deeply healing about crafting with your hands. It slows you down, sharpens your senses, and connects you with your space in a meaningful way.
Making your own candle holders isn’t just about saving money — it’s about creating a home that feels like you.
Every time you light a candle, you’ll be reminded: you made this with care.
9. Ready to Sculpt Your Own Serenity?
You don’t need perfection. You just need a moment — and a little clay.
⭐ Save this post and come back when you’re ready to create.
📤 Share your creations — we’d love to see your calm come to life.
Let your hands shape your peace. Start sculpting today.